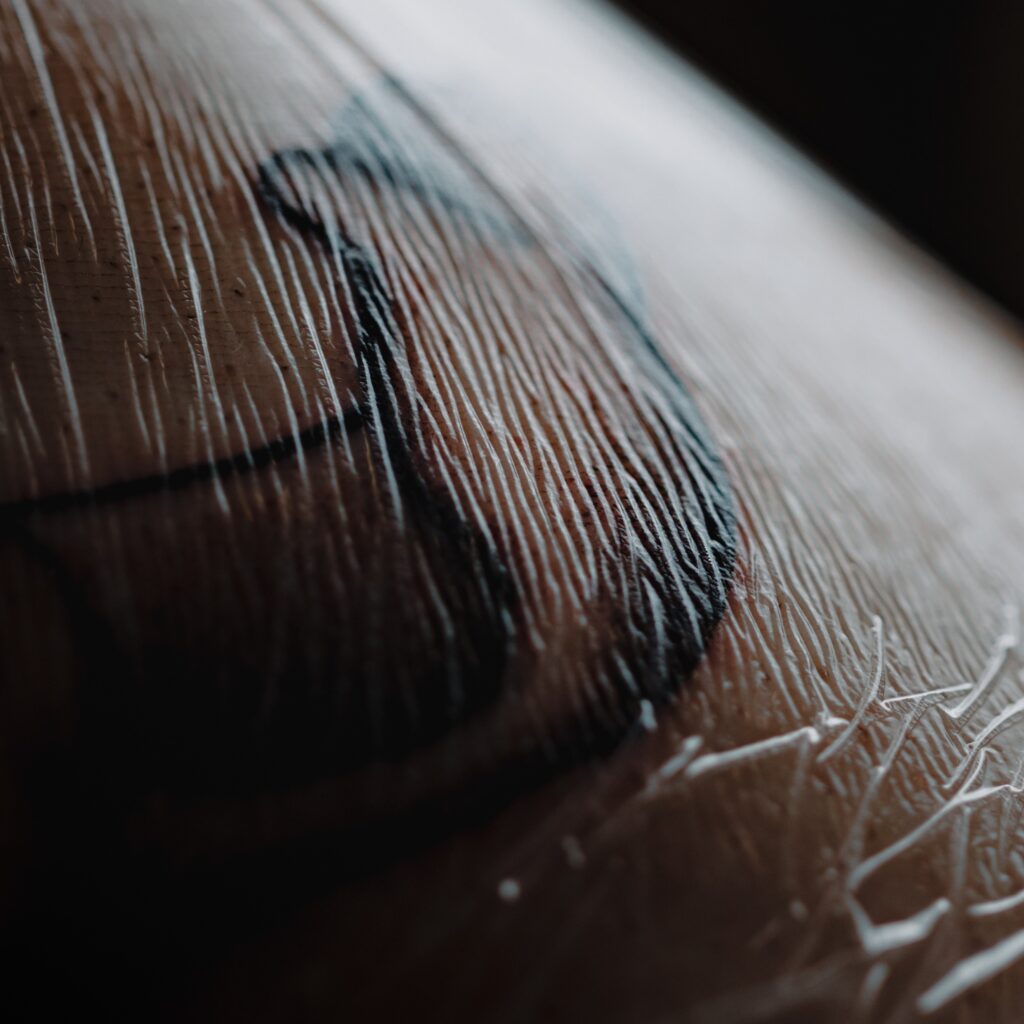
While getting tattooed, the tattoo needle punctures the skin between 50 and 3,000 times per minute. The needle enters the outer layer of the skin (epidermis) and delivers the ink into the central layer of the skin (dermis). It can be easy to forget, but this new piece of art is an open wound and must be treated as such if you want it to heal optimally.
Properly caring for a new tattoo is crucial in order to prevent scabbing, scarring, infection, and potential loss of pigment or detail in your healed piece. When it comes to healing a new tattoo, every tattoo artist has the best intentions for their client and will recommend the aftercare they know best. However, these care instructions can vary drastically from artist to artist.
For this reason, we’ve compiled this holistic guide to healing tattoos, leaning on our decade of industry experience and innovation. Read below to learn more about the problems, solutions, and best practices for tattoo aftercare, so your healed ink looks as good as the day you left the tattoo shop.
A Brief Overview of Traditional Tattoo Healing: Plastic Wrap and Petroleum-Based Products
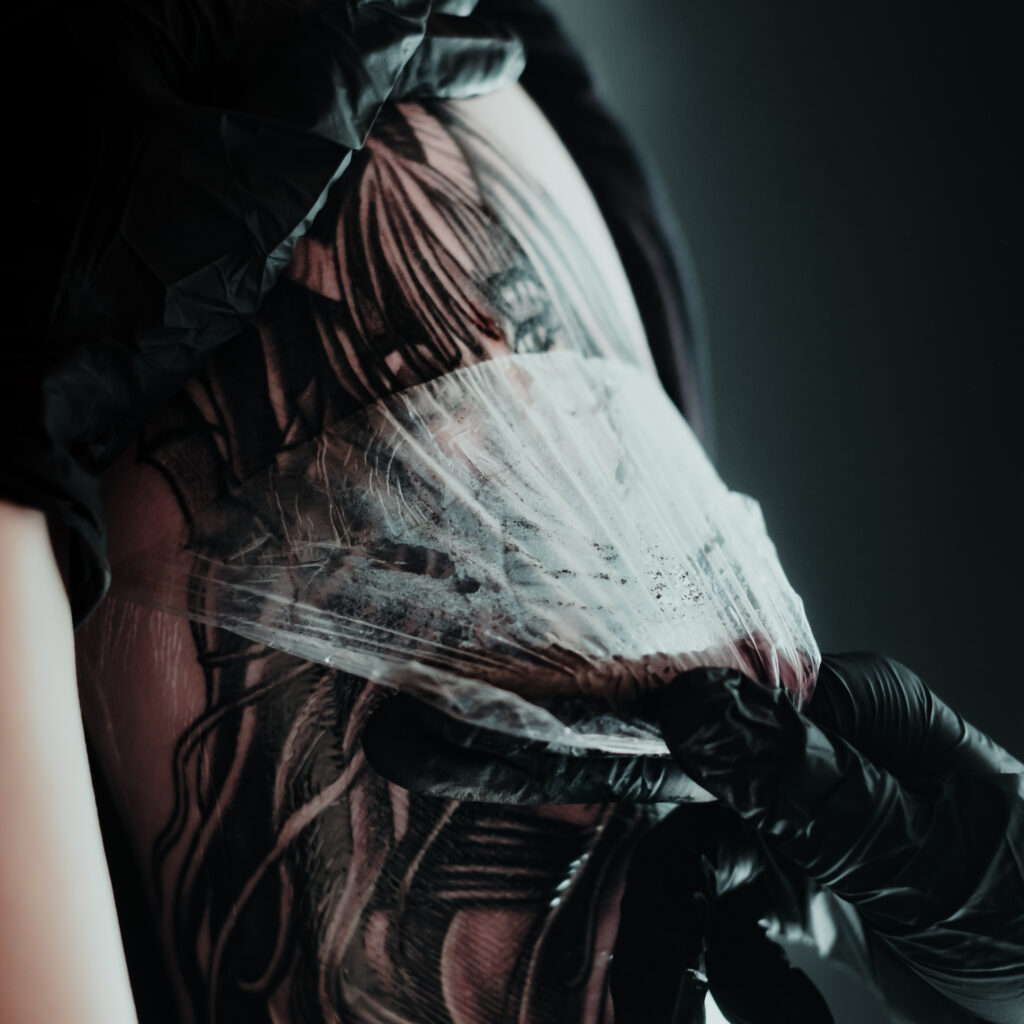
In traditional tattoo care, covering the new tattoo with a household plastic wrap (i.e. Saran Wrap) is usually the first step in the healing process. This plastic wrap generally stays on for a few hours.
Next, the tattoo is typically washed, dried, and covered with a thin layer of petroleum-based ointment, such as Aquaphor or Vaseline. This is repeated 3 to 4 times per day until the tattoo is fully healed.
We DO NOT recommend healing a new tattoo this way for several reasons:
- This process is lengthy and can take anywhere from 2 to 4 weeks to fully repair the tattooed skin.
- Despite the common use of petroleum-based products for new tattoo care, these products tend to suffocate skin pores. When pores are not able to breathe, the skin may develop rashes, and hair follicles become irritated or inflamed. This may do more harm than good to a new tattoo.
- Petroleum jelly can trap impurities close to the skin, increasing the risk of infection around the tattooed area.
- Since oxygen itself plays a huge role in allowing the skin to heal properly, covering a new tattoo in plastic wrap or smothering it in petroleum-based products that limit oxygen supply can further complicate the healing process.
- Neither plastic wrap or petroleum-based ointments mitigate the drying of blood and plasma coming from the tattoo while it heals, which leads to scabbing. Scratching or itching at the scabs on a new tattoo can result in loss of the ink’s pigment and detail, and may even cause bleeding, irritation, infection, or scarring.
The goal is to avoid scabbing altogether, while allowing your tattoos the oxygen they need to heal properly and efficiently. However, not covering a fresh tattoo at all can expose the tattoo to unavoidable contaminants in your surrounding environment. These include but are not limited to bacteria, germs, dirt, and pet dander at work or in your household.
Products made specifically with tattoos in mind are essential for remedying these drawbacks to traditional healing methods. This is why Saniderm brought occlusive wound healing to the industry – a tattoo aftercare method that prevents scabbing, promotes faster healing, and uses the body’s natural wound restoration process to optimize your recovery.
How Does Saniderm Work and What Are the Benefits?
Unlike plastic wrap, Saniderm is a sterile, medical-grade, breathable, and waterproof tattoo bandage specifically engineered to be oxygen-permeable. Saniderm bandages solve many of the problems associated with plastic wrap and petroleum-based products described in the previous section.
By locking in the body’s blood and plasma as it exits the wound site during the first 24-48 hours, Saniderm prevents scabbing and thus accelerates the recovery process. Saniderm also drastically reduces the risk of tattoo contamination by keeping the site covered with a protective barrier, preventing potential infections. Plus, it conveniently eliminates sessions of washing and applying aftercare to a new tattoo. The result is a tattoo healing experience that is safer, smoother, and more efficient.

Preparing Your New Tattoo for Saniderm Bandages
Congratulations on your new tattoo! Here are a few things you need to do to get your skin ready for a Saniderm bandage:
- Your artist likely already shaved your hair in a 1-2 inch radius around your new tattoo, which will be handy when applying Saniderm (no one likes ripping their hair out when removing bandages).
- Clean your tattoo thoroughly with a gentle, antibacterial soap after the session to remove all soap residue and excess ink.
- Dry thoroughly by gently patting the area with a clean paper towel (do not use a cloth towel, as they can harbor bacteria).

Applying Saniderm to Your New Tattoo
With your skin fully prepped, it’s now time to apply Saniderm to your new tattoo:
- Cut the Saniderm bandage slightly larger than the size of the tattoo (including an extra 1-2 inches around all sides).
- Remove the white paper backing to expose the adhesive side of the bandage.
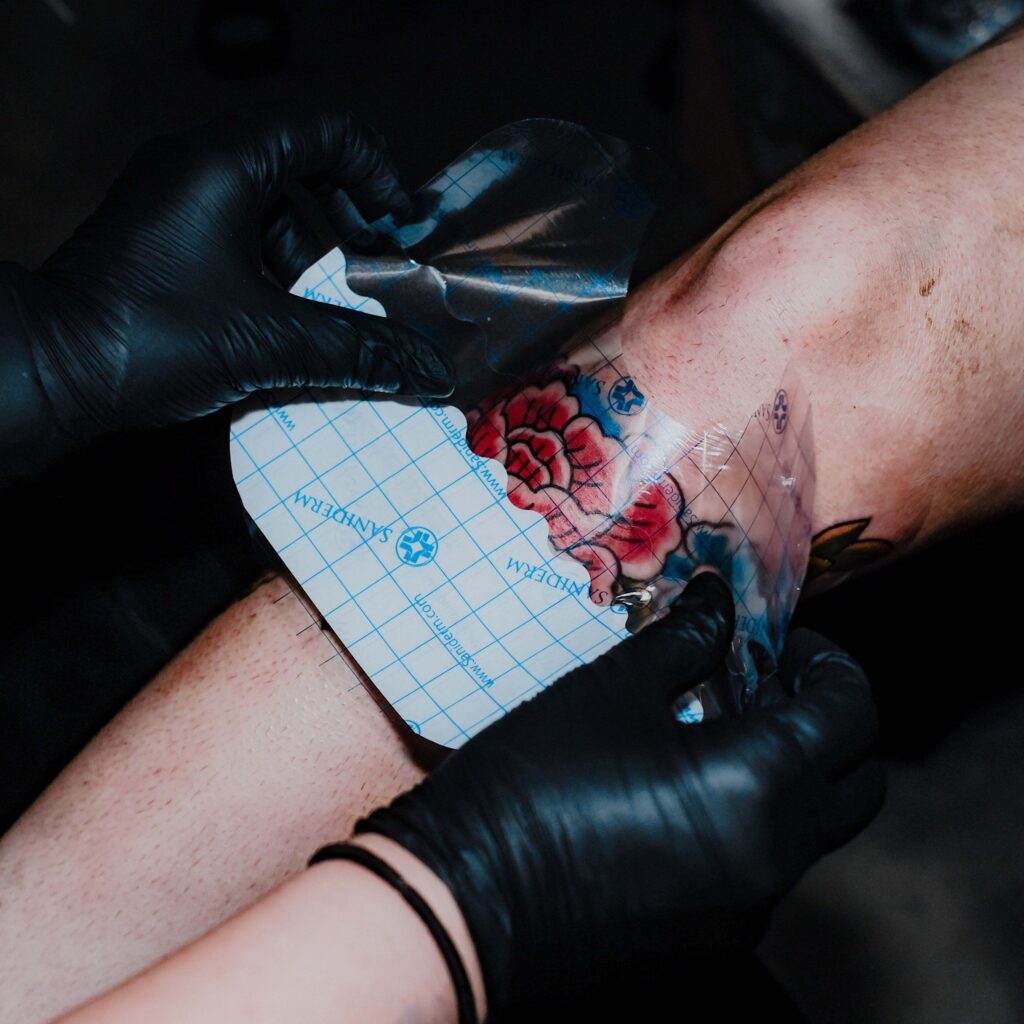
- Center and place the bandage gently over the tattoo, massaging it onto the skin from the middle outward.
- Once the bandage is in place, remove the remaining clear patterned layer, leaving the bandage on the tattoo. We include a “wavy” crease that makes separating this patterned layer from the bandage easier.
- Keep this first bandage on for up to 24 hours, depending on how much the tattoo site weeps blood, plasma, and excess ink. Fluid will always pool into an “ink sack” underneath the bandage, but if this pooling becomes excessive or starts to compromise adhesion, simply remove and reapply.

Removing and Reapplying Saniderm to Your (Now) Partially Healed Tattoo
It’s now been 24 hours and you’re ready to remove your first bandage and reapply a second:
- Under warm running water (we always recommend removing Saniderm in the shower), find an upper corner of the bandage and start slowly pulling it back over itself like how you would peel a banana from the top down.
- Clean the tattoo with warm water and a gentle, fragrance-free product such as our Foam Soap.
- Pat the tattoo dry with a clean paper towel and allow 5-10 minutes for it to fully air dry.
- Apply your next Saniderm bandage by repeating the same application steps above.
- Keep this second bandage on for an additional 3-5 days. Remove if you experience any discomfort and continue open-healing with our collection of Tattoo Aftercare Balms.
Caring for Your New Tattoo After Removing Saniderm
It’s been just under a week, and your tattoo is mostly healed. Here’s what comes next:
Keep in mind that the tattoo may appear to be fully healed on the surface once you remove the last Saniderm bandage after 5 days. However, deeper layers of the skin will still be fully healing for up to 6 months. We recommend sticking to a consistent, daily moisturizing regimen for this entire period, and that’s why we offer all-natural topicals (Tattoo Aftercare Balms and Daily Lotions) in our comprehensive lineup of tattoo aftercare products.
Once the final Saniderm bandage is removed from your tattoo, continue to care for it by gently washing it at least twice daily (morning and night) with a gentle antibacterial soap and pat dry with a clean paper towel. After allowing it to air dry for an additional 5-10 minutes, apply a thin layer of aftercare balm by gently massaging it into the tattooed skin in small, circular motions. Stick to this daily routine for the next 1-2 weeks while the tattoo remains slightly hypersensitive to touch and until the tattoo is no longer peeling, dry, or cracked.
Can You Over-Moisturize a Tattoo?
It can be tempting to apply a thick layer of balm or lotion to your healing tattoo, especially if it feels particularly sore or looks extra dry. But it is possible to over-moisturize your new tattoo, which can lead to some of the following problems:
- Delayed tattoo healing.
- Unwanted bacteria growth.
- Risk of inflammation and infection.
- Clogged pores and suffocation of the skin.
- Acne breakouts around the new tattoo.
That said, it’s also possible to under-moisturize a tattoo, which can lead to dry, cracked, or itchy skin, and even the unwanted formation of scabs that can potentially jeopardize the appearance of your healed tattoo.
To get the perfect amount, just work a single thin layer of your moisturizer evenly throughout the tattoo’s surface. Less is typically “more” and we recommend stretching a smaller amount of product before applying it in excess. A little typically goes a long way, and the skin is quick to absorb what’s applied, even if it’s less than you think you might need.
After spreading the product evenly across the entire tattoo (and before calling it “done”), give the whole area one last uniform wipe with the hand or finger to take off any remaining excess moisturizer. This will leave your tattoo with the thinnest layer it needs in order to still receive oxygen for an efficient heal, without suffocating the skin.
Wearing Saniderm While Showering, Swimming, and Exercising
Saniderm bandages are engineered to be waterproof so that you can continue to shower daily as normal while healing your new tattoo. However, excessively warm water may weaken the bandage’s adhesion, which can allow unwanted contaminants to get underneath the bandage, putting you at risk of infection. Never fully submerge your new tattoo (i.e. baths, pools, hot tubs, etc.), whether bandaged or not, for the 2-4 weeks immediately following your tattoo session. If water does make its way underneath the bandage, promptly remove it, thoroughly clean the area, and either apply a replacement bandage or continue healing with an open, topical method.
Saniderm bandages are also made from high-quality polyurethane that’s twice as durable as other tattoo wraps. Saniderm bandages are durable enough to maintain a regular, light exercise routine without compromising your new tattoo. However, increased perspiration, prolonged movement, or excessive friction in or around the tattooed area could weaken the bandage’s adhesion, potentially compromising its seal. Remove and reapply a new bandage if necessary or continue healing with an open, topical method.
Results of New Tattoo Care Using Saniderm
Saniderm has helped thousands of people heal their new tattoos with ease. Using Saniderm brings convenience to the aftercare process and heals tattoos faster, leaving behind vivid, show-stopping ink. Ask your tattoo artist or local tattoo shop if they carry Saniderm products!
To find more information and tips on proper Saniderm bandage application and usage, visit the Saniderm Product Usage section in our Knowledge Base.

Hi! So I had saniderm on my new tattoo for about 27 hours. It felt like the application was pinching my skin and took it off. I left the tattoo bare for about 16 hours after that (was asleep for 6 hours of it) and then applied another bandage. I then (stupidly) took that one off after another 20 hours because water was getting into because of bad application by me. I think the 2nd removal tore some skin or ink off of one part of the tattoo. I wanted to know the best way to heal from that.
Thanks for reaching out
The best way to heal damaged skin from Saniderm removal is to use a product with colloidal silver in it. We offer a product called Sanibalm Plus.
https://www.saniderm.com/products/sanibalm-plus-0-6-oz
Thank you,
Saniderm Support
I have my saniderm on for 6 days when should I remove it it is itching still
Thanks for reaching out
Saniderm should be on no longer than 7 days in total.
Thank you,
Saniderm Support
What if I don’t want to put on a 2nd piece of saniderm after the first 24 hours are up and I can take the 1st piece off?
Hey Vicky,
That’s fine. There are many factors that can influence how long you should keep each bandage on for, such as how much fluid is coming out of your tattoo and whether or not your skin is experiencing any irritation from the adhesive of the bandage. If you’re going to take that bandage off and not apply a second, make sure to keep your tattoo moisturized and protected through other means!